Course Layout

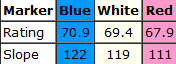
Course Ratings
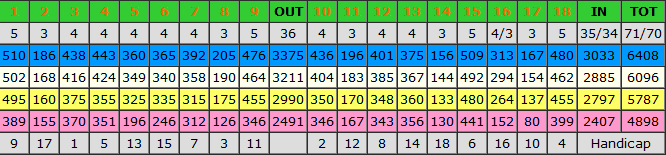
Scorecard
Hole-By-Hole Descriptions
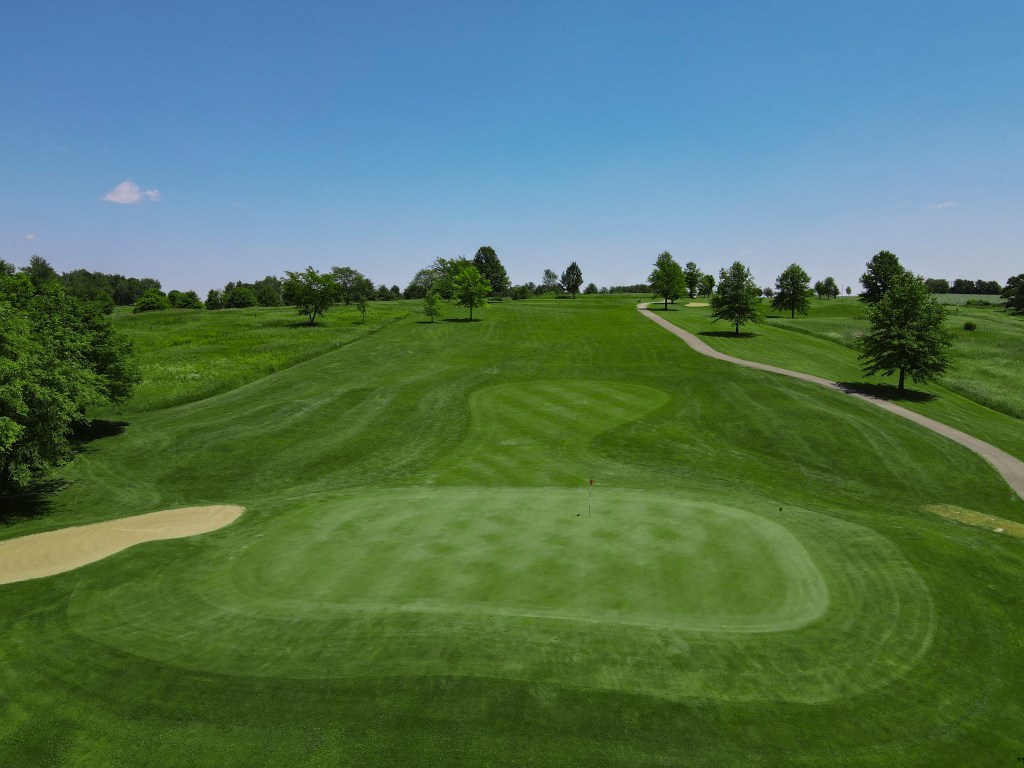
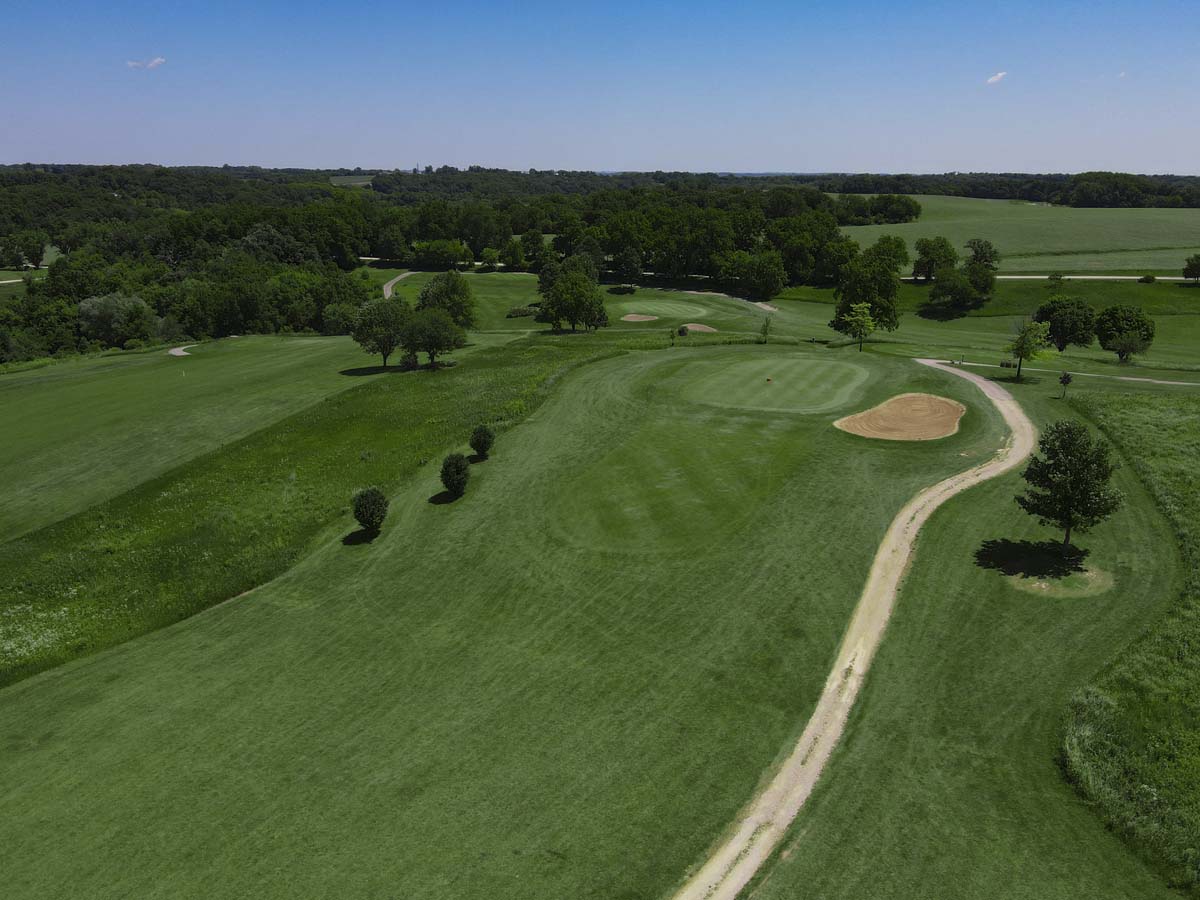
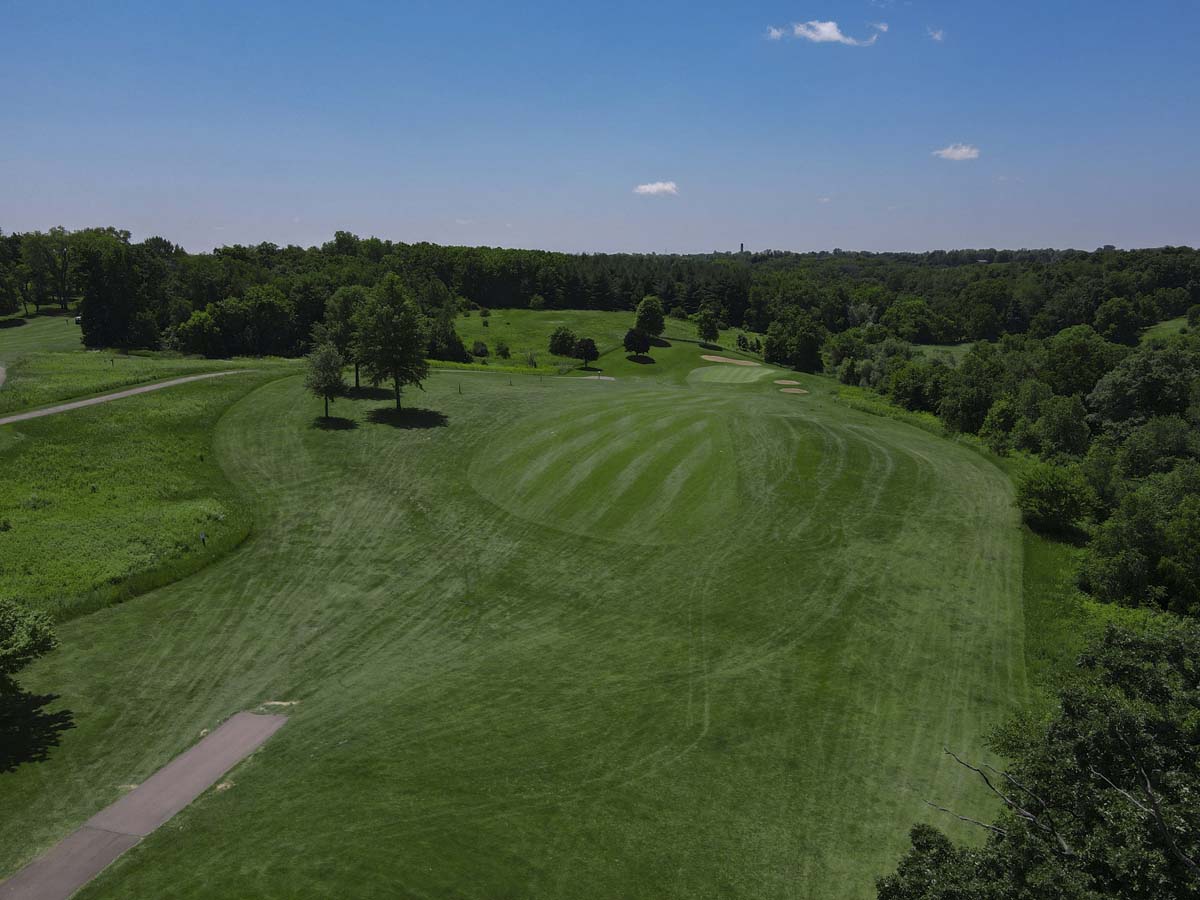
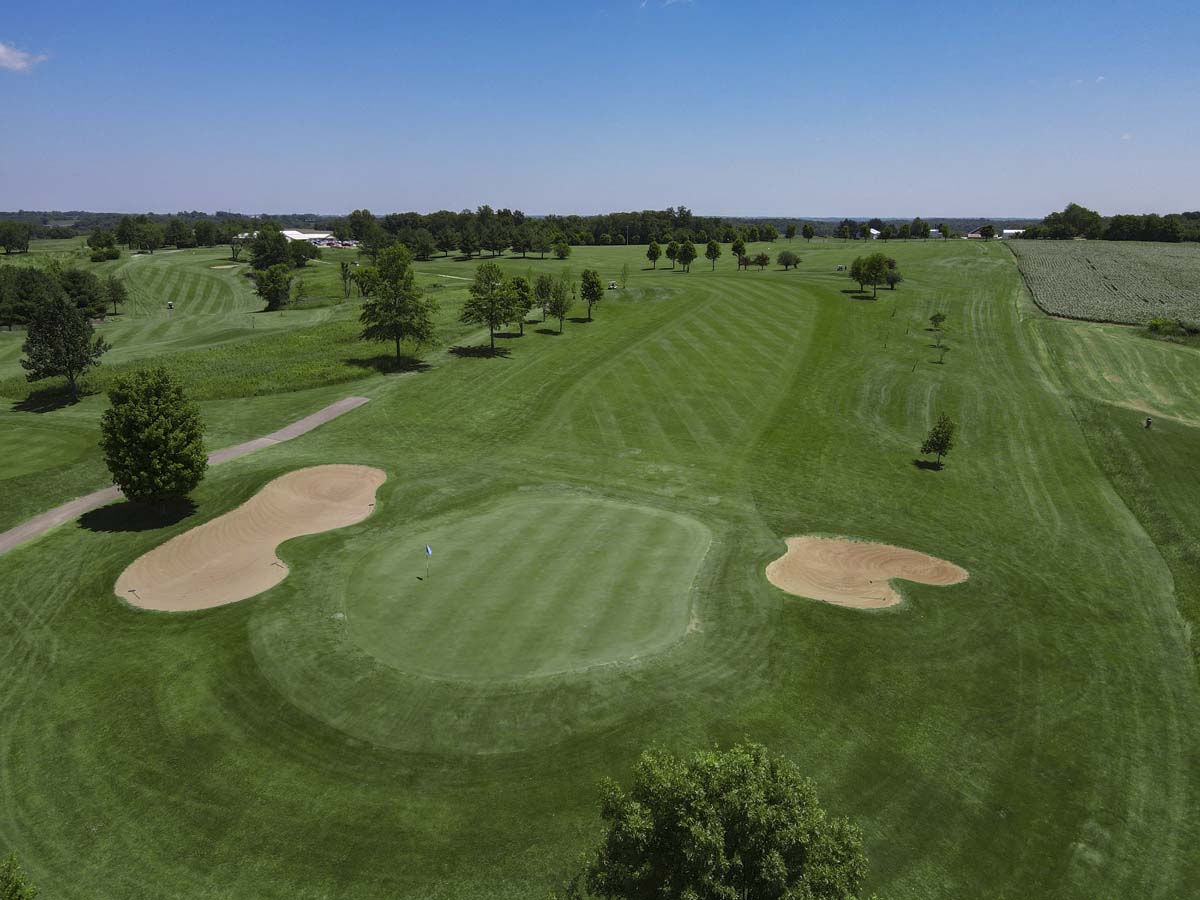
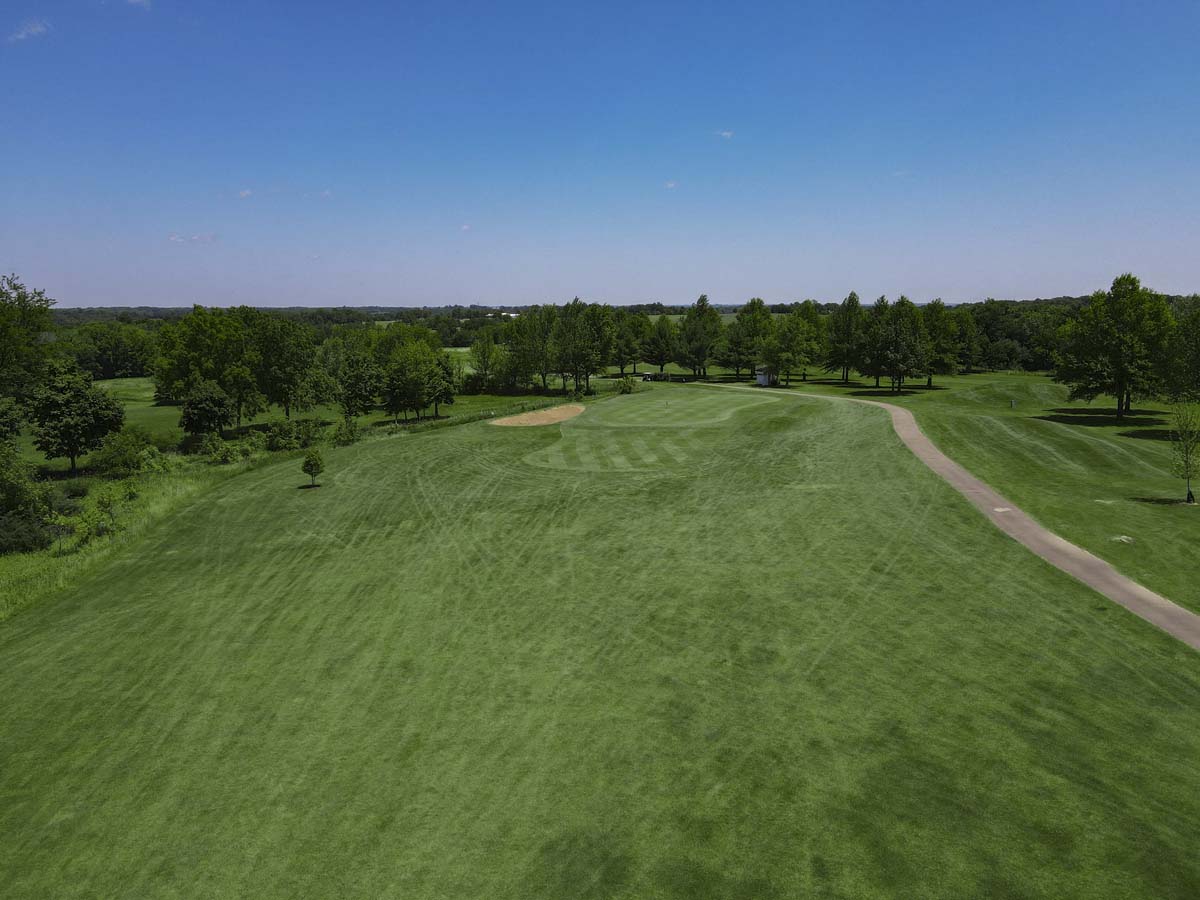
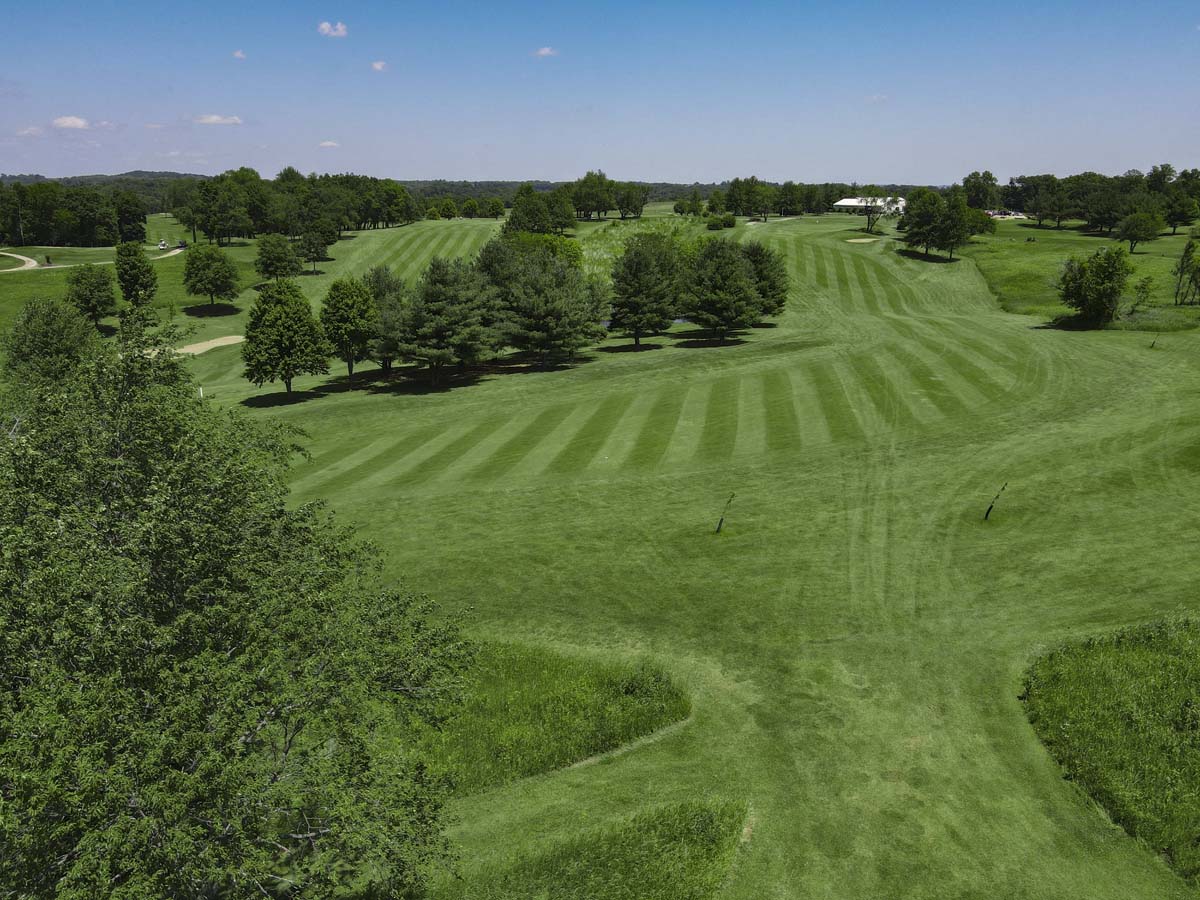
The Par 5 – 1st Hole
Not too difficult, a starting hole that can start a good round.
This hole is a slight double dogleg Par 5 with mounding on the right side of the fairway. The green is protected with a large sand bunker on the 2nd dogleg approximately 100 yards from the green and an additional bunker on the left front of the green. A well played 2nd shot will provide an eagle or a birdie opportunity. The green slopes back to front and is relatively large.
 510 yds
  502 yds
  495 yds
  389 yds
Handicap 9
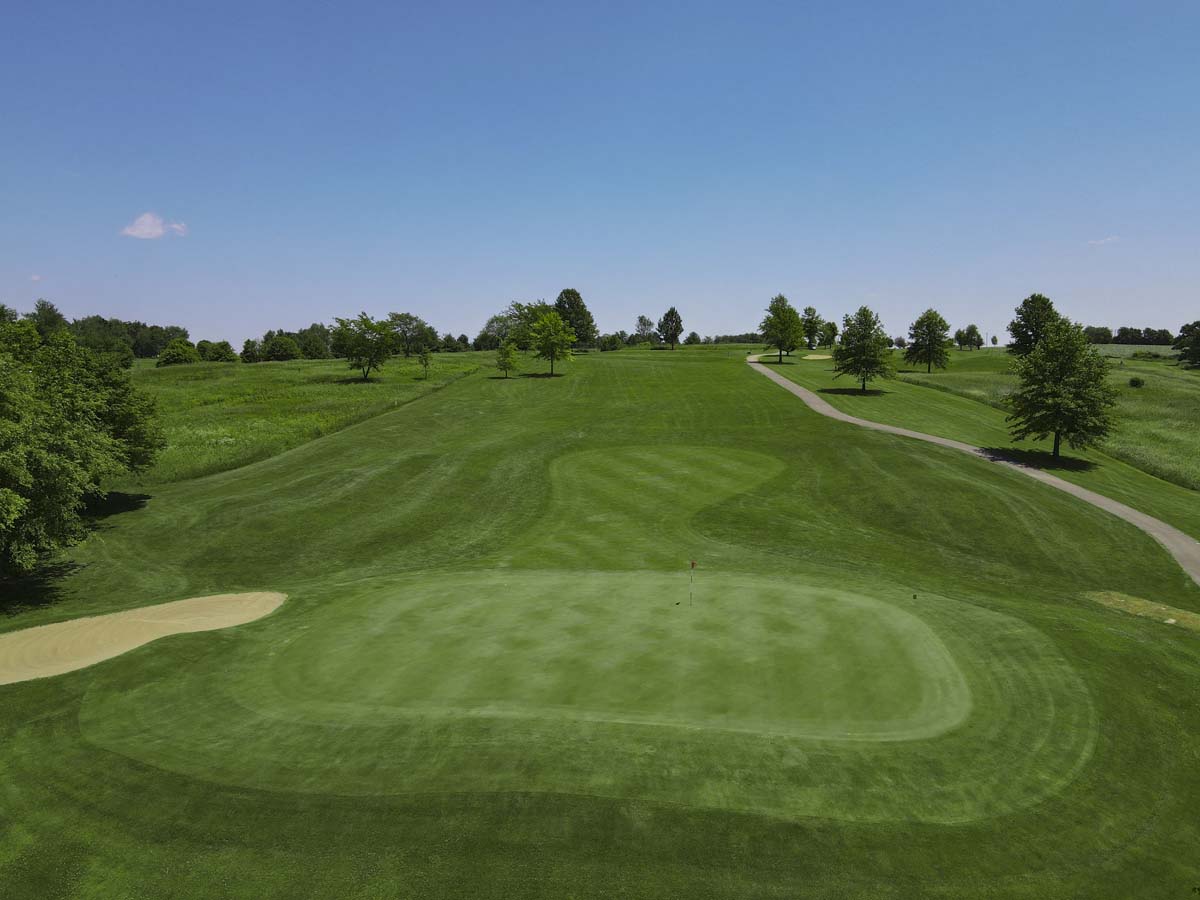
The Par 3 – 2nd Hole
Easier to make 4 or 5 than 3.
Takes a solid iron shot to make this green. Plays slightly uphill. Long grass on the far left and right with a bunker guarding the right front of the green.
186 yds 168 yds 160 yds 155 yds
Handicap 17
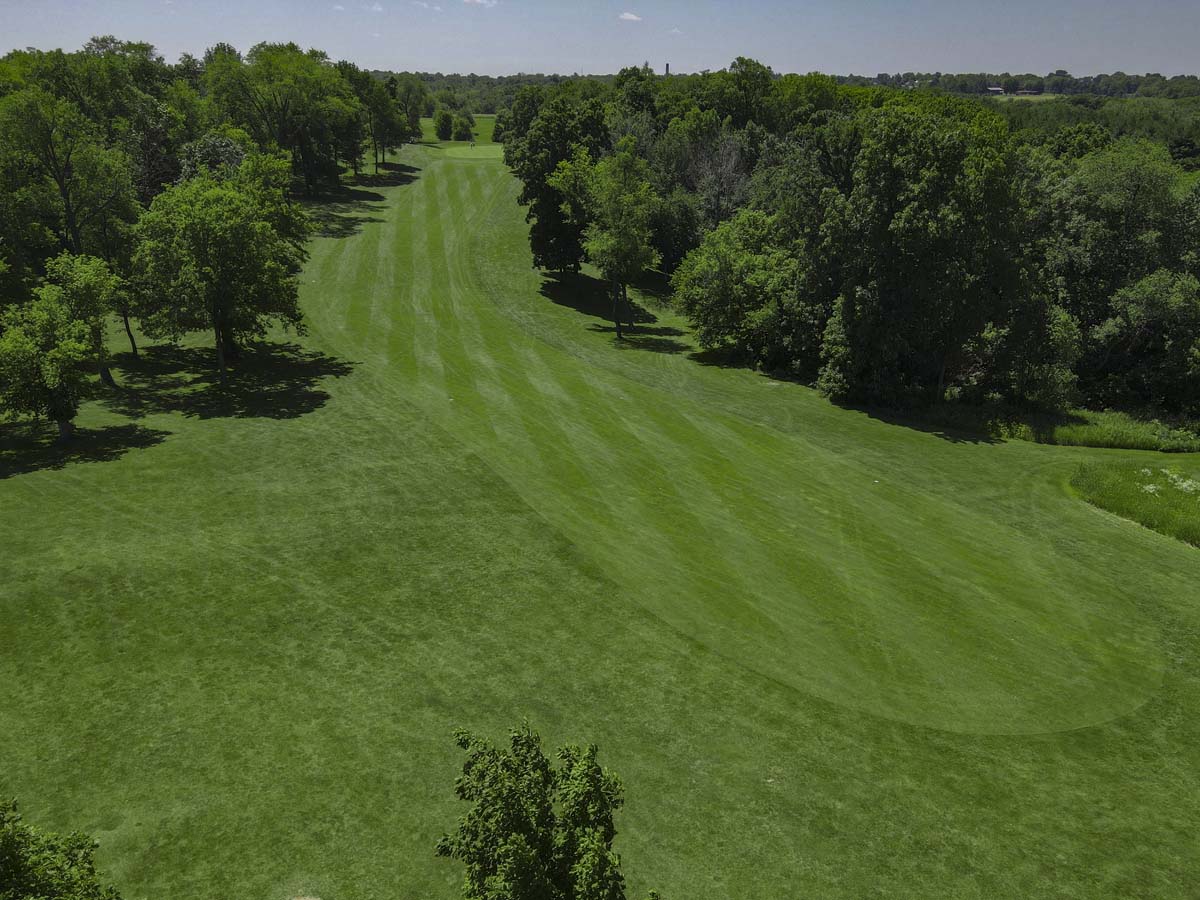
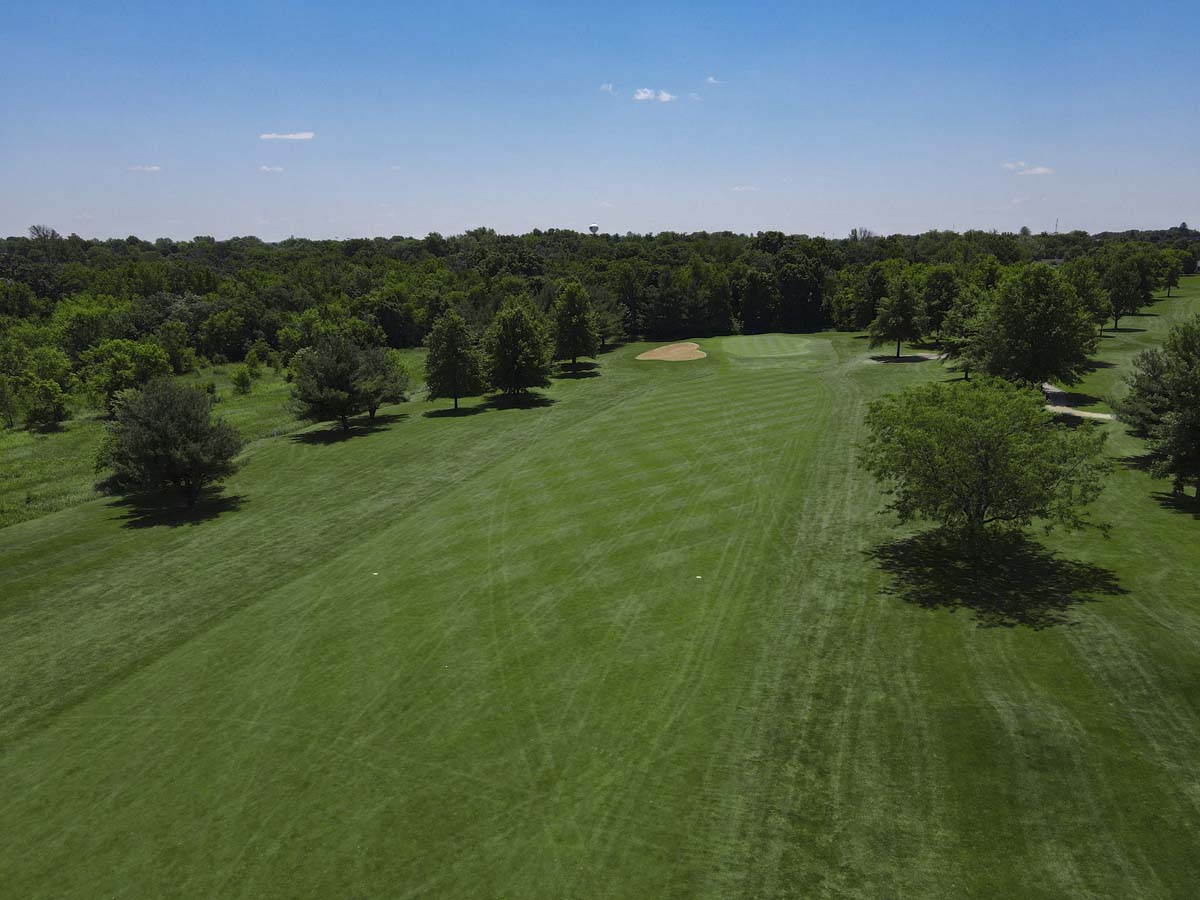
The Par 4 – 3rd Hole
Looks long and plays long.
Appropriately the #1 handicap hole on the course. Here a slight left to right draw on your drive is the key to the approach shot. Requires accuracy and distance, trouble both left and right with stands of prairie grass. Your 2nd shot is usually a fairway wood or long iron to a large tabletop green protected with a bunker on the left.
438 yds 416 yds 375 yds 370 yds
Handicap 1
The Par 4 – 4th Hole
Get through this hole and you’re home free for awhile!
A downhill, somewhat long par 4 with another accurate tee shot required. Long grass short left and long right from the tee. The longer the tee shot the narrower the fairway gets. Longer hitters may want to hit a fairway wood to stay in the fairway. The green slopes mildly from front to back and is guarded by a pair of bunkers on the left.
443 yds 424 yds 355 yds 351 yds
Handicap 5
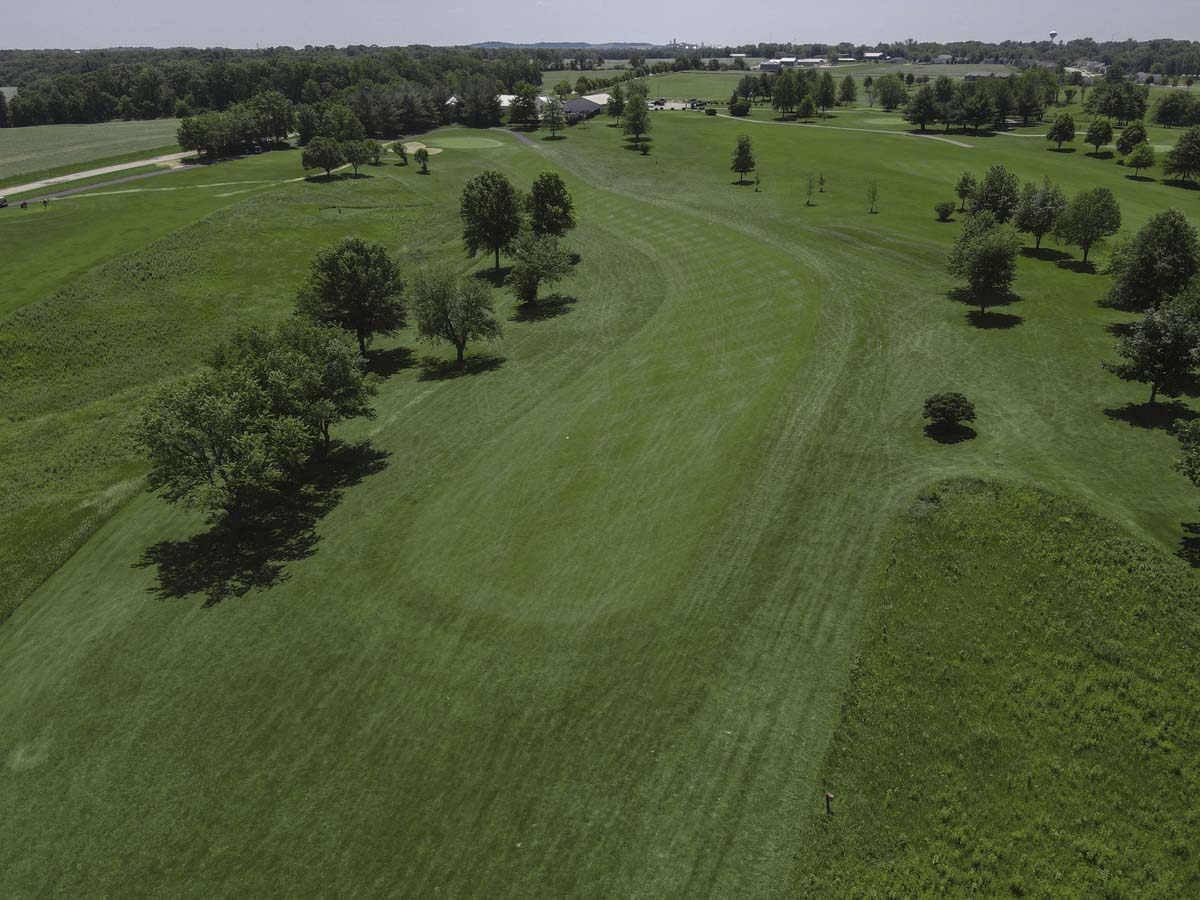
The Par 4 – 5th Hole
Easier par 4 with chance for birdie!
A generous fairway awaits you once you clear the valley in front of the tee. Placement of the tee is important as too long a drive may leave you with a downhill lie or a blind 2nd shot to the pin. Green slopes from back to front with trouble over and right of the green.
360 yds 349 yds 325 yds 196 yds
Handicap 13
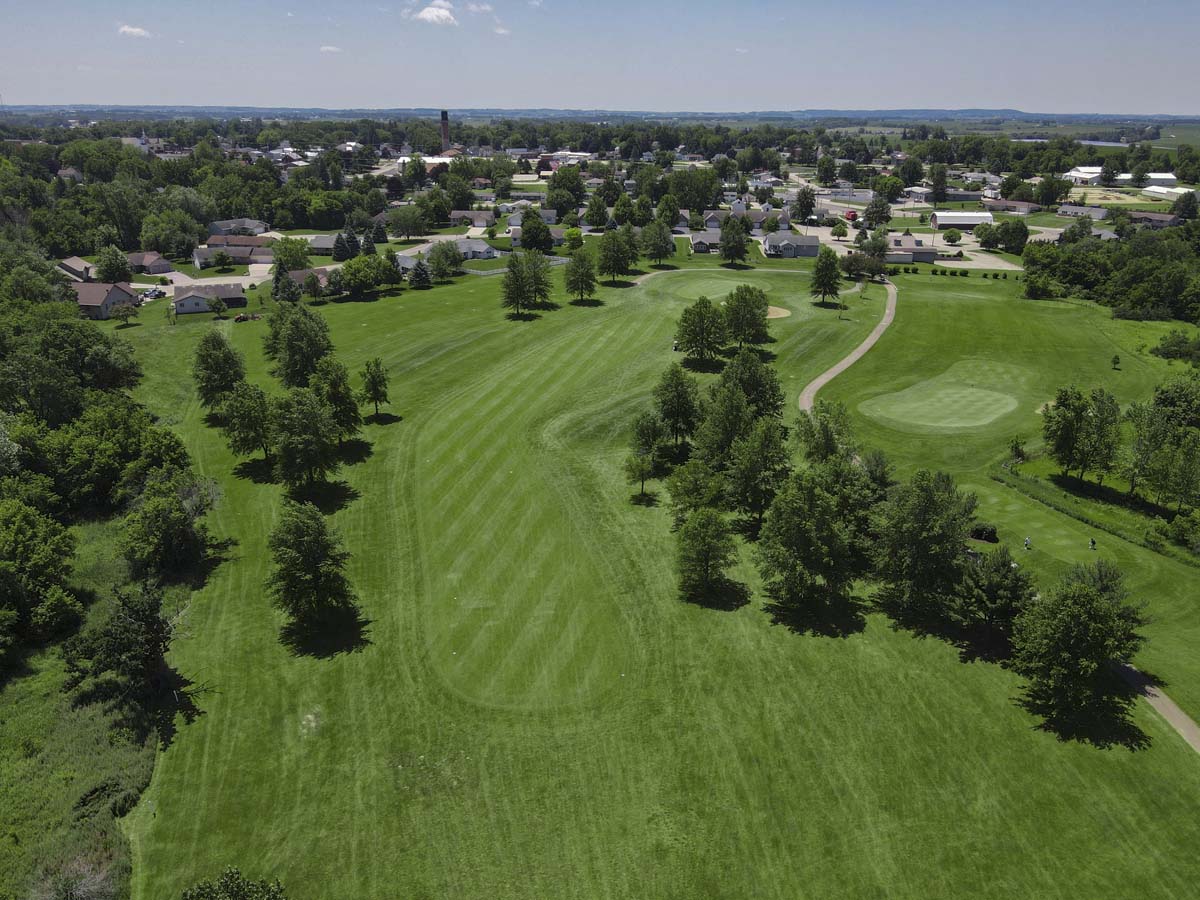
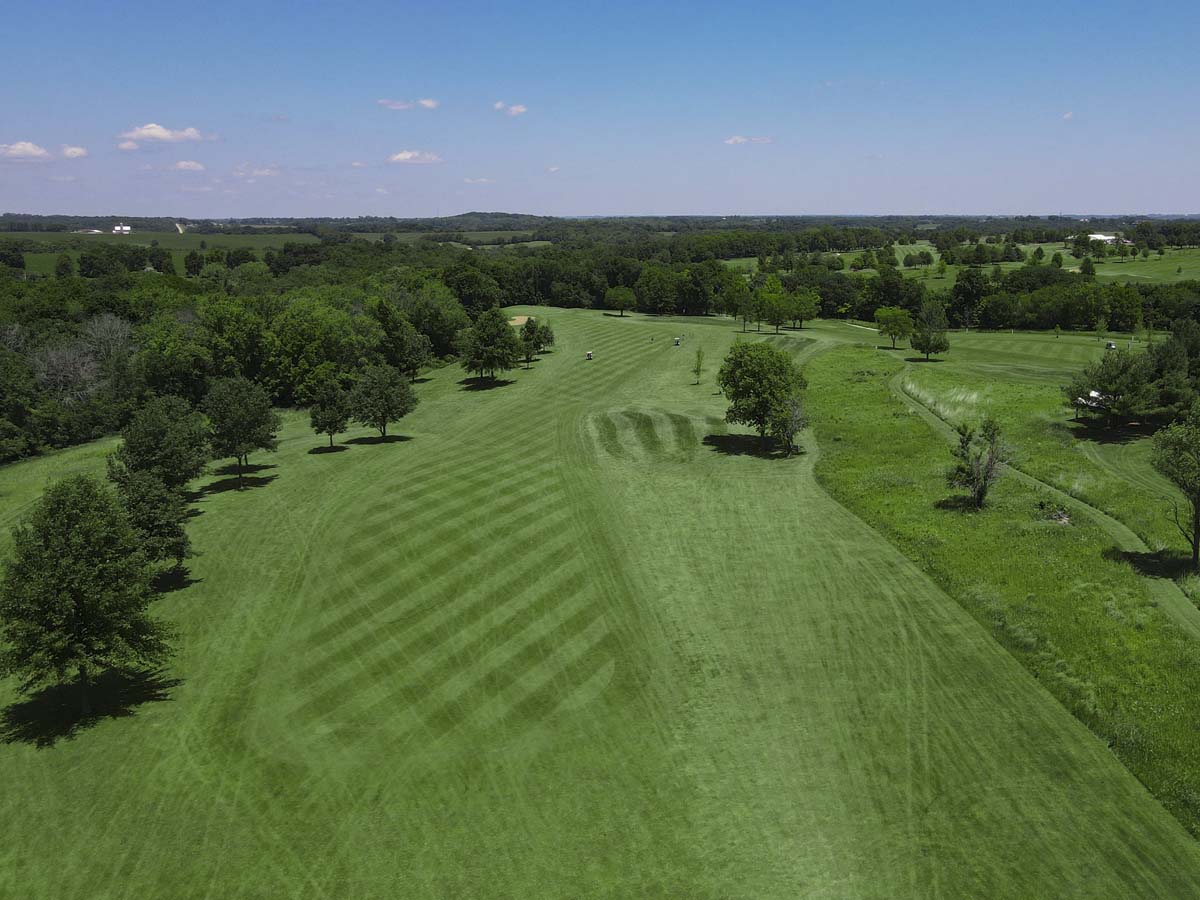
The Par 4 – 6th Hole
Another chance for birdie!
A blind tee shot hit just left of the Lena water tower will position you for your approach shot to the green. A tee shot lost to the right of the fairway is doomed for the natural rough and a lost ball. The green slopes from back left to front right and is guarded by bunkers left and back of the green.
365 yds 340 yds 335 yds 246 yds
Handicap 15
The Par 4 – 7th Hole
Uphill add 1 club, back pin, add 2 clubs on approach shot!
Moderate length and driving accuracy required for this par 4. Timber on both sides of fairway with a moderate left to right slope. Approach is all uphill to a long back to front sloped green. Long bunker on right side of green.
392 yds 358 yds 315 yds 312 yds
Handicap 7
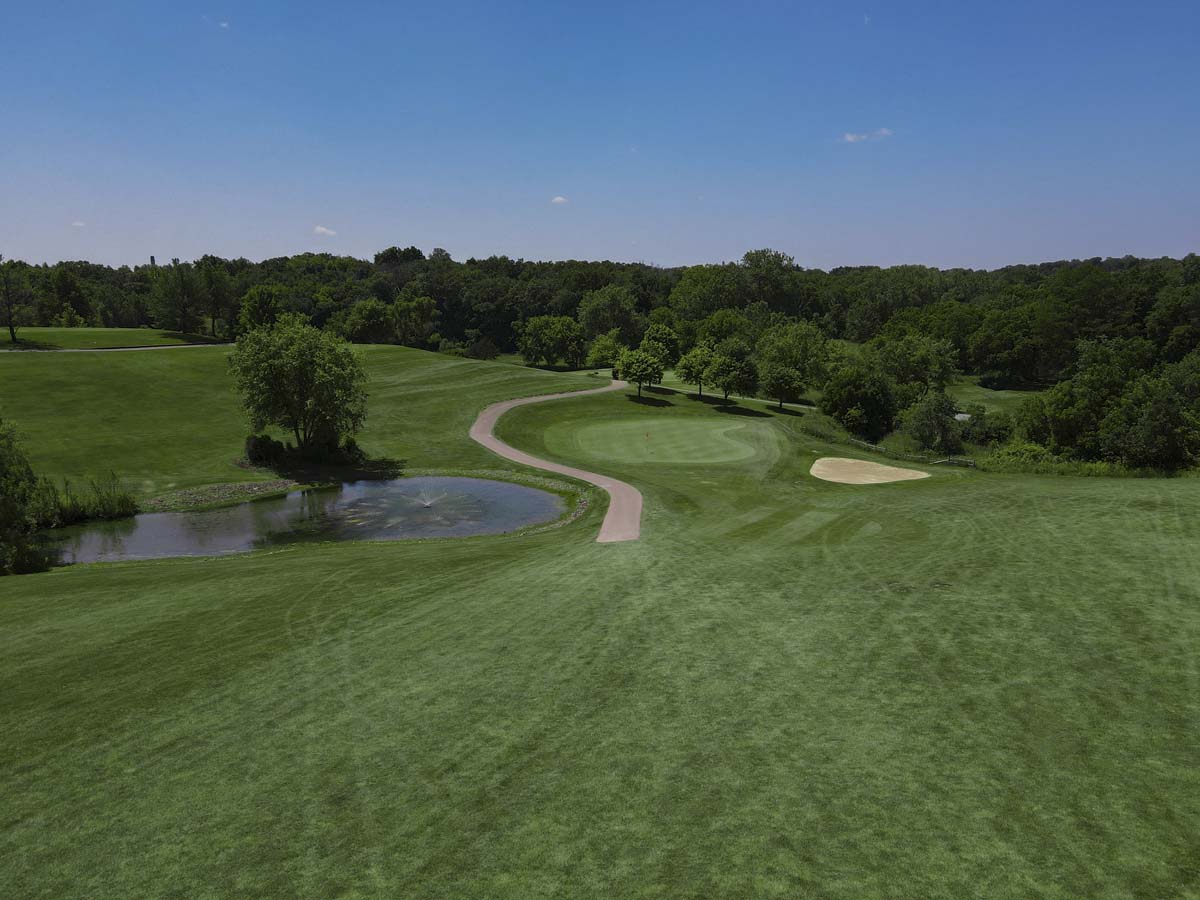
The Par 3 – 8th Hole
Make a par… Be happy!!
Great Par 3! Solid tee shot needed with trouble left and right of the green. There is a pond left front and a bunker right. Left side above green leaves very difficult chip shot. The green is two tiered so being on the pin level of the green is critical.
205 yds 190 yds 175 yds 126 yds
Handicap 3
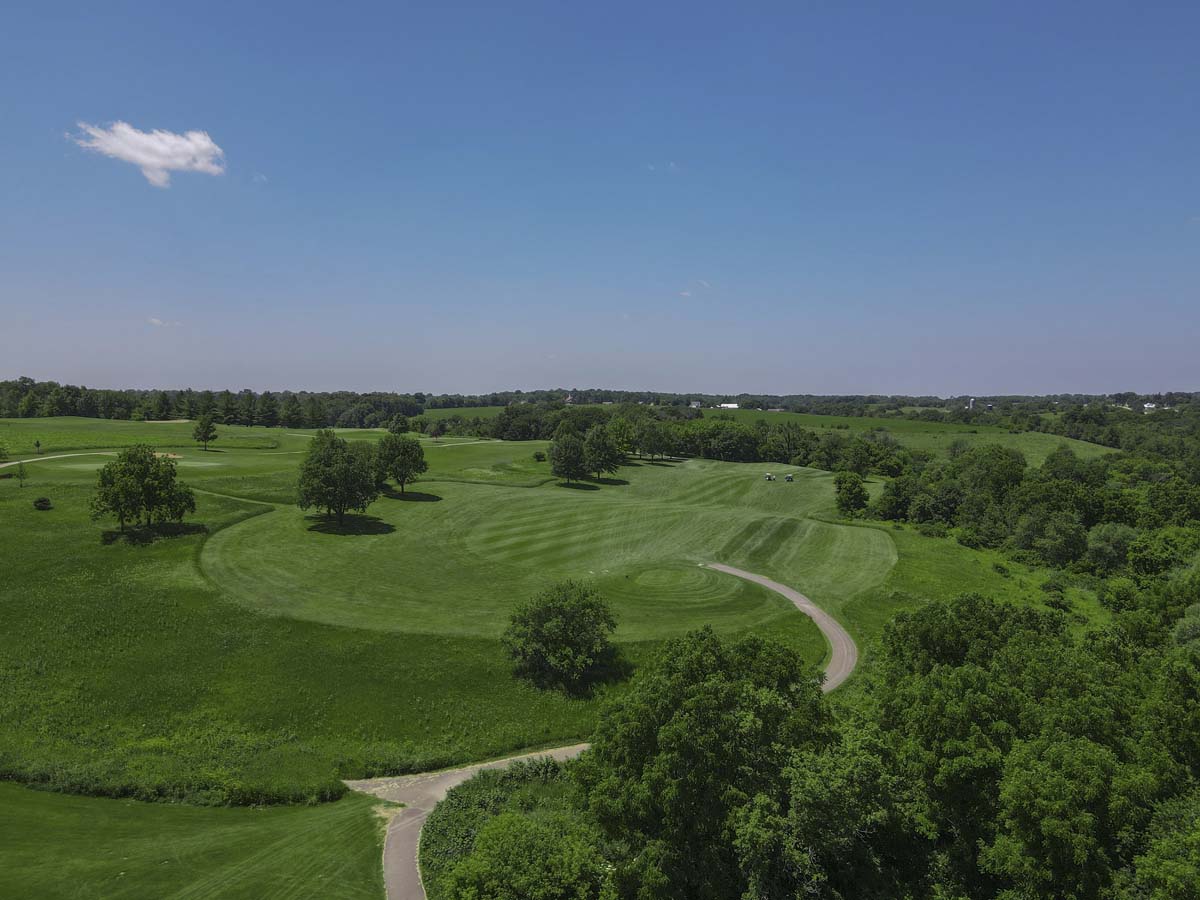
The Par 5 – 9th Hole
Solid golf on this hole provides a chance to gain a shot!
This dogleg left Par 5 is a Great risk / reward hole. Taking the tee shot over the fairway trap can leave a chance for green in 2. Too far left is long grass, too far right you have an awkward downhill/side hill lie on 2nd shot. It is all uphill to green after tee shot. Green is large sloping from back right to front left.
476 yds 464 yds 455 yds 346 yds
Handicap 11
The Par 4 – 10th Hole
Try to make a 2 putt then “get out of Dodge”…
Difficult par 4 dogleg right. Don’t lose your tee ball to the right, prairie grass awaits! If short and right on your drive you will have a blind shot to the most difficult undulating green on the course. Green slopes right to left and back to front. Landing your approach shot on the proper pin placement level is your best birdie chance.
436 yds 404 yds 350 yds 346 yds
Handicap 2
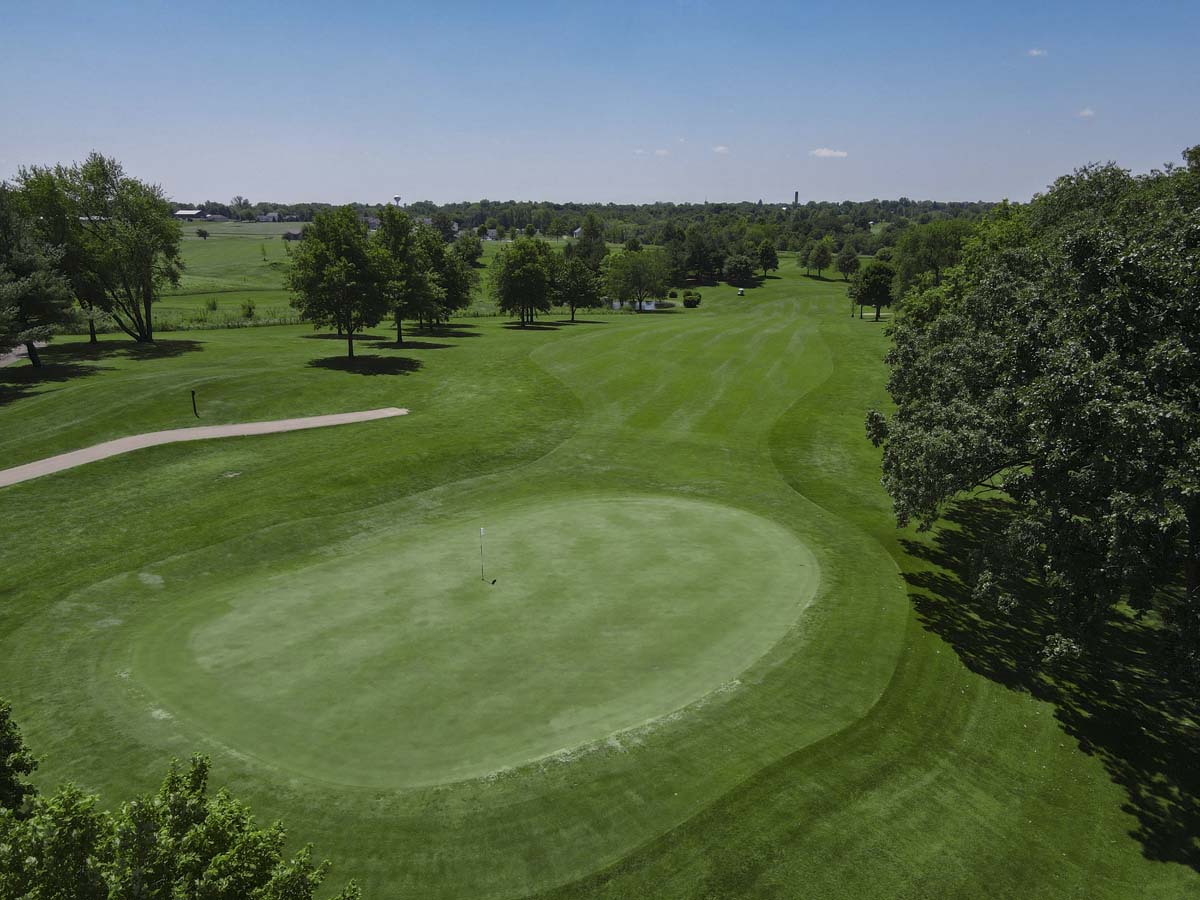
The Par 3 – 11th Hole
Good Par hole with a birdie chance.
Downhill Par 3 with bunker on right. Don’t be too far left or long. Green slopes back to front and being in direct line with the flag avoids side hill breaking putts.
196 yds 183 yds 170 yds 167 yds
Handicap 12
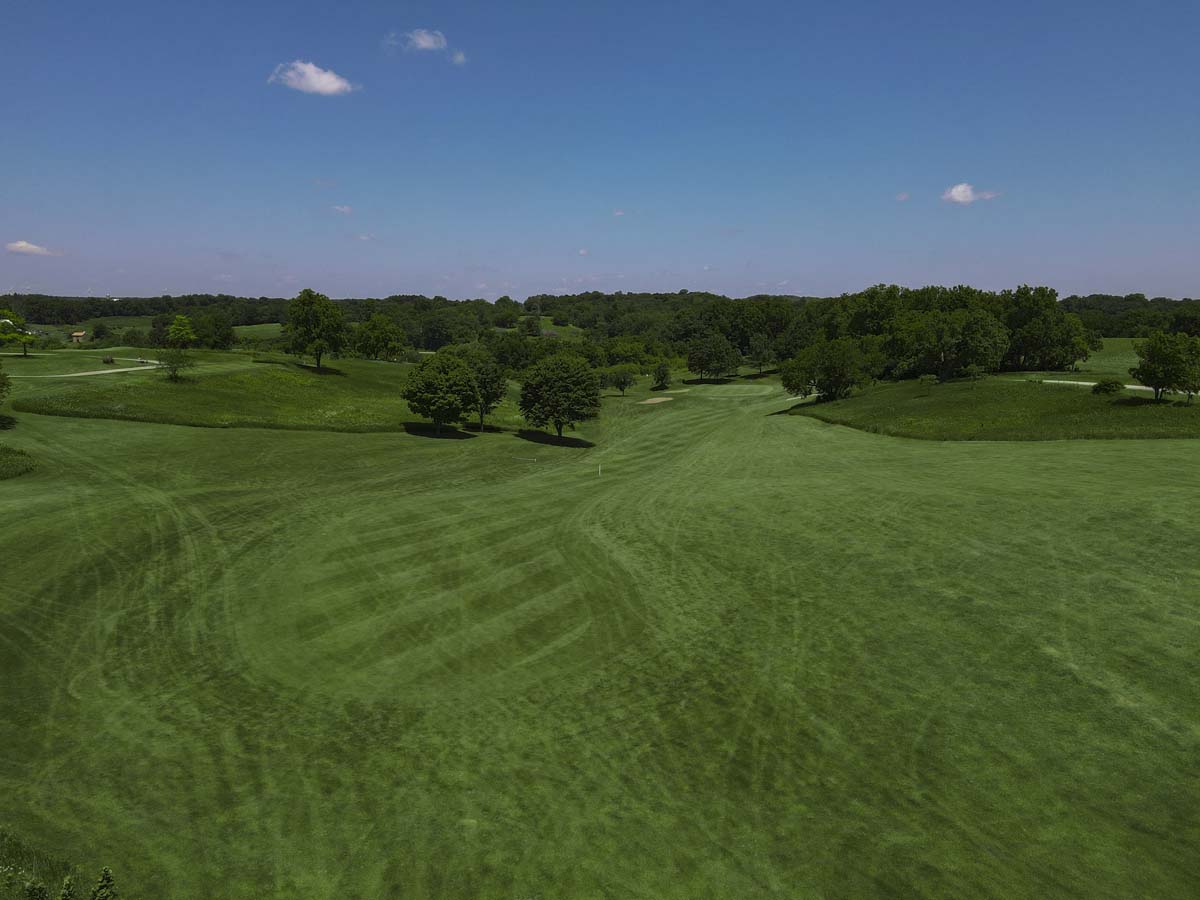
The Par 4 – 12th Hole
Another extra club hole to back pin placement.
Load Up on your tee shot on this par 4. Plenty of room out there. Straight away hole with blind tee shot. Middle to long iron to green with bunker on left. Large green slopes back right to front left.
401 yds 385 yds 348 yds 343 yds
Handicap 8
The Par 4 – 13th Hole
Birdies are possible if you’re even with or below the hole in 2.
This hole can sneak up on you. Not terribly long but it requires a very solid drive to clear the mounds and cut the corner. Keep it left of the mounds with a back pin placement. This green also slopes back to front and downhill putts are sneaky quick on this green.
375 yds 367 yds 360 yds 356 yds
Handicap 14
The Par 3 – 14th Hole
If the pin is back right, be happy with a par here.
Ranked easiest hole on the course but there’s OB if your left and long. Large green with some difficult pin placements possible. Bunker on the left front of this 2 tiered green.
156 yds 144 yds 133 yds 130 yds
Handicap 18
The Par 5 – 15th Hole
Birdie or eagle possible but a satisfying par.
Good double dogleg Par 5. Again a good Risk Reward hole. To get there in 2 shots requires a boomer over the mounds on right side of fairway but don’t loose it, to the right long grass awaits. If your drive is left you’ll have to clear a long fairway bunker 40 yards short of green with a long iron or play to center of fairway on 2nd shot. Large green with a ridge across the center. Middle pin better to be a little short, back pin you need to clear the ridge to have a birdie or eagle chance.
509 yds 492 yds 480 yds 441 yds
Handicap 6
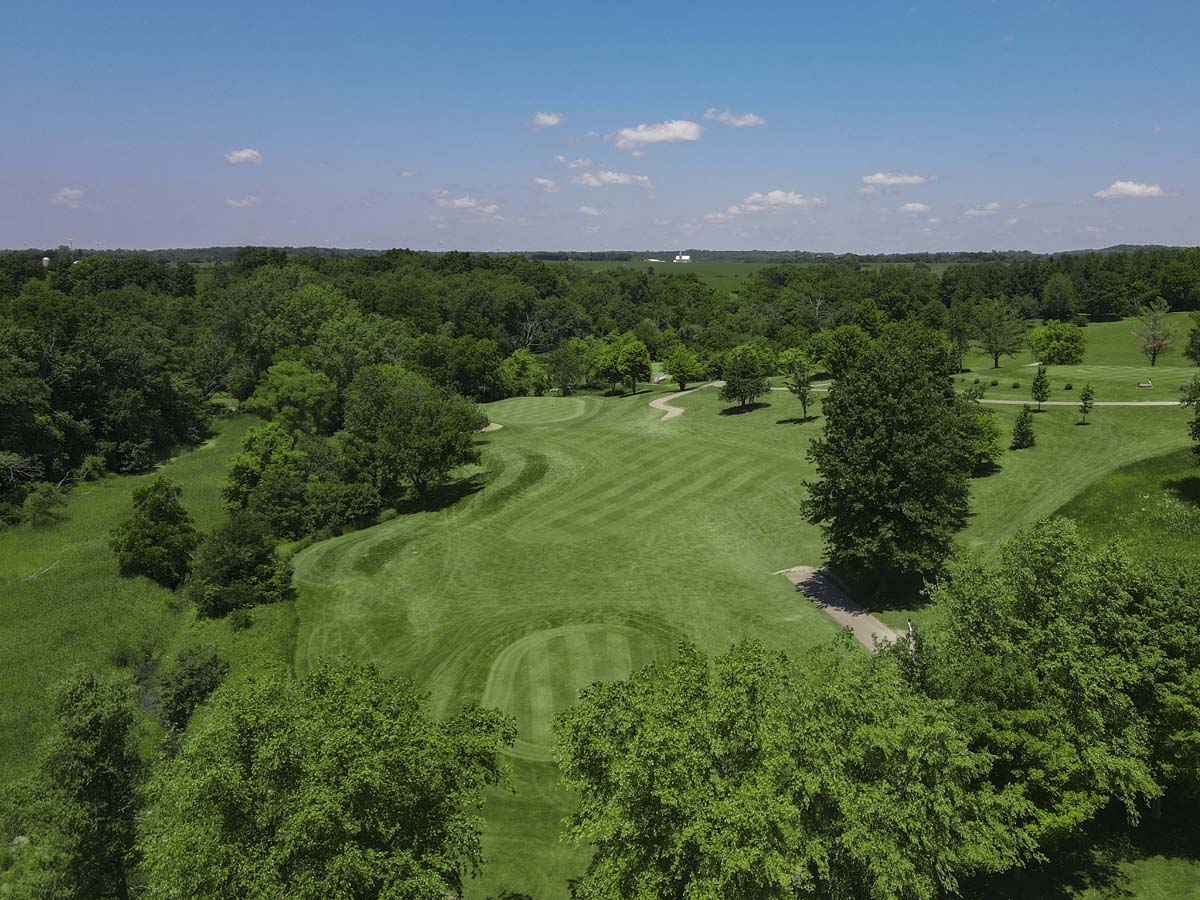
The Par 4/3 – 16th Hole
Think you own this hole…Guess Again.
Here the Risk Reward style really comes into play. A short dogleg left but the green can be driven from the middle or middle front tee box. Beware that trouble is everywhere. A creek and long grass guards the left side of the fairway and a long drive through the fairway leaves you with a steep side hill approach shot to the green. The green is smaller but can require a nearly perfect approach shot to a back pin placement.
313 yds 294 yds 264 yds 152 yds
Handicap 16
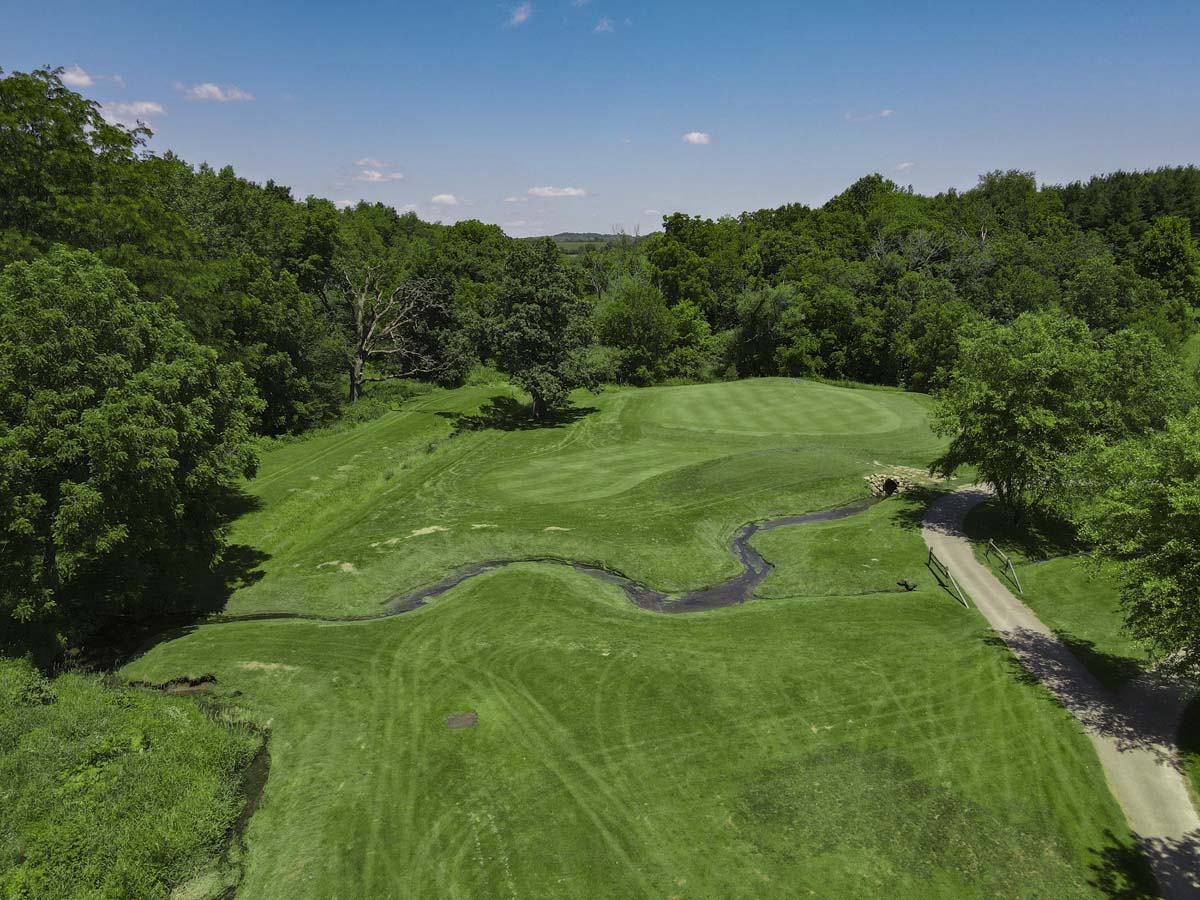
The Par 3 – 17th Hole
Par is Good on this Hole.
The wind and green are the dangers here. A middle or short iron shot is the club here but the protected tee fools you concerning the winds. Once on the green the rule is stay below the hole as a difficult downhill or side hill putt is waiting left, right or above the hole. There is trouble all over here. Bunker short right and tall grass. Difficult approach from left and a winding creek in front.
167 yds 154 yds 137 yds 80/73 yds
Handicap 10
The Par 5 – 18th Hole
This hole is there for the taking. Use the right club on your approach shot.
Great finishing hole! You can win or lose on this hole alone. Not an extremely long par 5. Getting home in 2 is a possibility by negotiating the mounds and OB on the left or a solid drive just right of the mounds. A large bunker and tree protect the front right of this multi tiered green. Your advantage is is to have your approach shot land on a level with the pin.
480 yds 462 yds 455 yds 399 yds
Handicap 4